November 17, 2011
By George Spafford
George Spafford is building a replica of the Yugo M70B rifle using a stub parts kit. A new installment will appear here every Friday
Install Front Trunnion

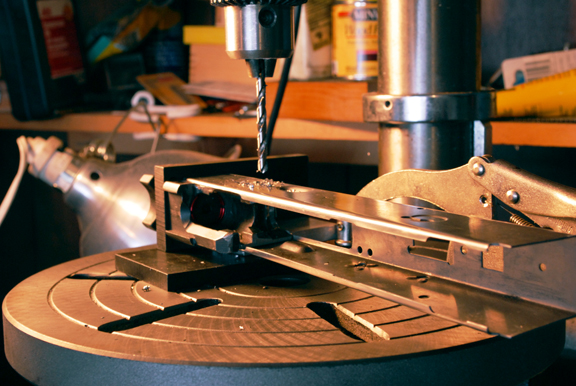
An AK-Builder trunnion jig is used to hold and position the trunnion and sheet metal receiver allowing for more precise hole drilling. It works great.
Advertisement
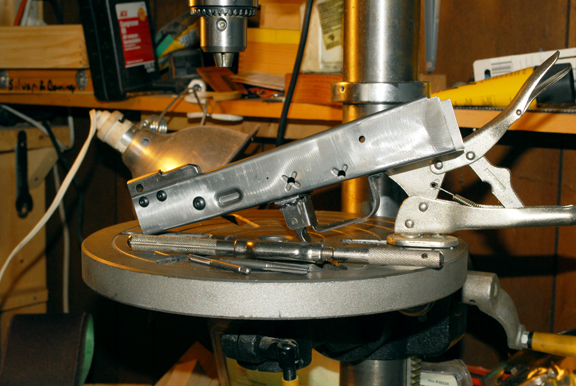
With that installed, the front trunnion was next. You need to make sure that you locate the front trunnion so magazines lock up. To do this, have a variety of magazines handy and clamp the trunnion in the receiver. Take each magazine and try to lock it in place, sliding the trunnion front and back until they can all lock up. Make a witness mark to record where the trunnion was positioned so you can repeat the positioning again.
One method to transfer holes from a trunnion to the receiver is with Post-It notes. The note is aligned with the top outside corner of the trunnion and then rubbed to show the holes. The Post-It note is then located on the receiver and the center of the holes center-punched, thus transferring the location. That simple method worked for me for years until I saw the AK-Builder trunnion drilling jig and it was love at first sight. The jig makes it very easy to locate and drill trunnion holes. It's also how I did this rifle.
In either case, slide the receiver and trunnion together until the witness marks align. Now I start with an 1/8" drill to locate the holes and make sure everything is okay even though I am using a jig. Once I am certain all the positions are right, I then drill to size each hole using the same sized bits as the trunnion — #21 for the two front ones and a #3 bit for the rear lower larger holes.
Advertisement
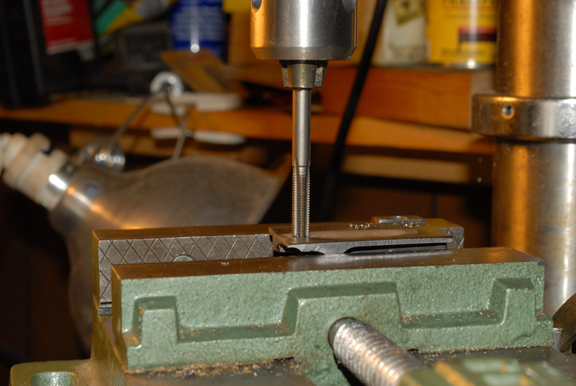
With all the holes drilled, it was time to tap the trunnion for screws. I used my drill press to hold the tapered tap vertical to the work piece. I then applied plenty of Tap-Magic cutting fluid and manually rotated the spindle by hand while inserting the tap into the hole. This worked great — nice vertical holes. For the 1/4" taps, I could start with the drill but had to finish with a hand tap wrench to gain some mechanical advantage. My grip isn't what it used to be!

The front trunnion is now installed with the screws. Note — do not use Loctite yet, in case things need to move.

The tap is held in the drill press spindle and turned by hand — not by power. This allows you to start the tap nice and square. I have found this method to be a very easy way to accurately tap without investing in a tapping jig.
Once the trunnion is tapped and the screws installed, use a Dremel tool and stone to reach in and make any protruding screws level with the inside surface. You do not want them sticking out, as they will interfere with the barrel being pressed back in.

Use a stone in a Dremel to knock down any screws that protrude into the barrel chamber. They must be flush to not block the barrel when it is pressed back in.

